Installing a fiber optic splitter box by yourself can be a rewarding project that allows you to expand your home or office network efficiently. As a supplier of fiber optic splitter boxes, I'm here to guide you through the process, ensuring that you can complete the installation with confidence.

Why Install a Fiber Optic Splitter Box?
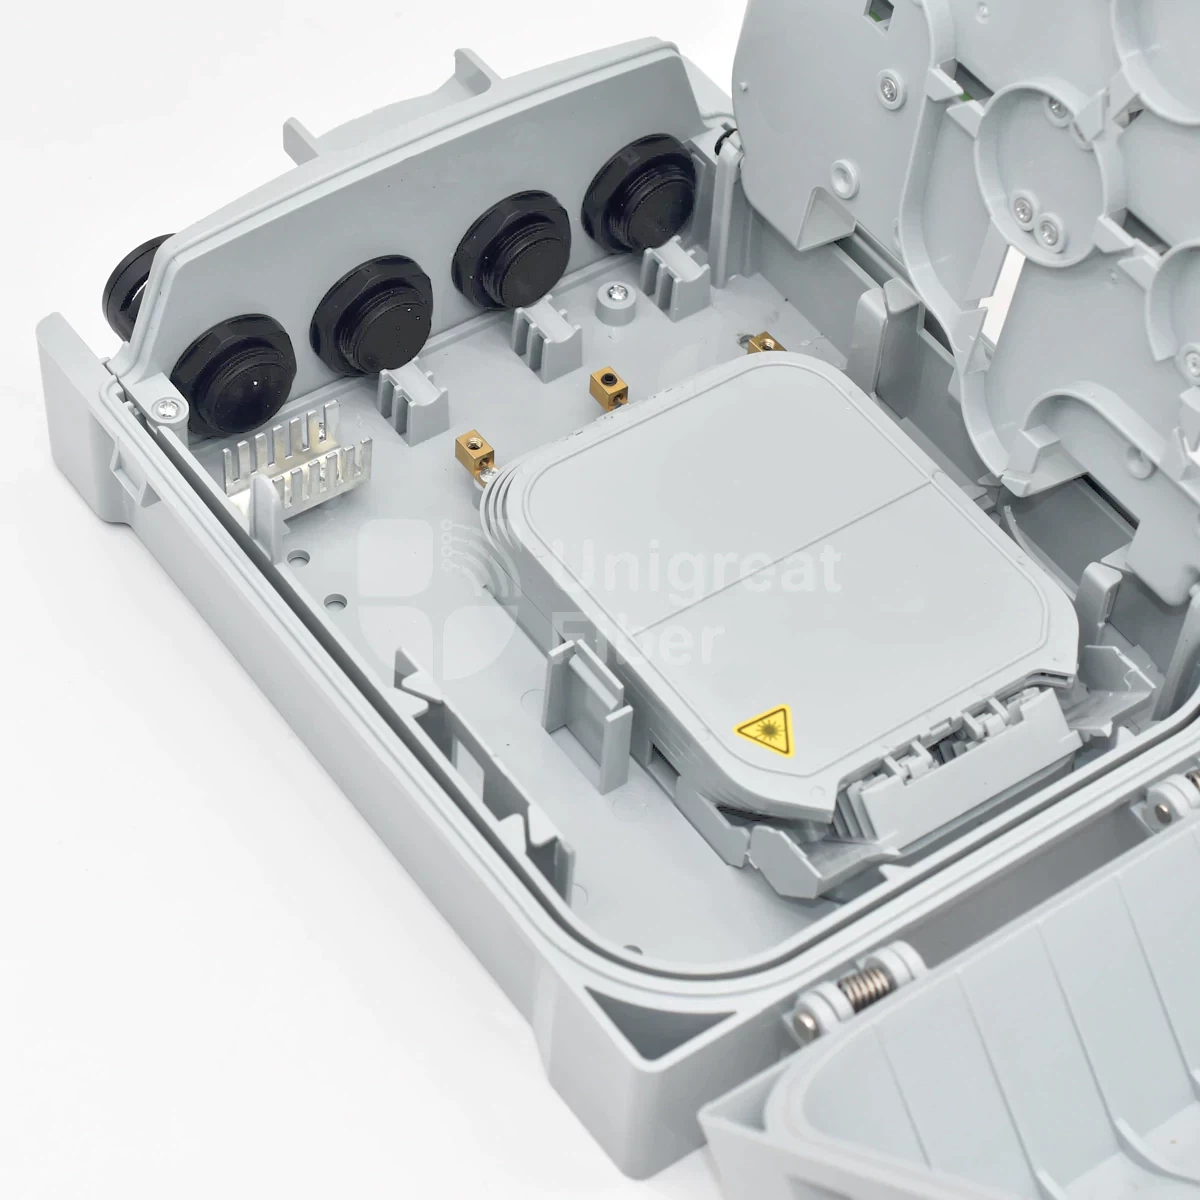
Before we dive into the installation process, let's understand why you might need a fiber optic splitter box. A fiber optic splitter box is a crucial component in a fiber-to-the-home (FTTH) network. It splits a single fiber optic cable into multiple connections, allowing you to distribute high-speed internet to multiple devices or locations. This is particularly useful in multi-dwelling units (MDUs) or large offices where multiple users need access to the same fiber optic network.
Tools and Materials You'll Need
- Fiber Optic Splitter Box: Choose a splitter box that suits your needs. For example, the 24 Core FTTH Termination Box PTE 24 U.I. For MDU is ideal for larger installations, while the 8 Port Fiber Access Terminal Box or 8 Core Fiber Optical Termination Box | FTTH Fiber Distribution Enclosure are great for smaller setups.
- Fiber Optic Cable: Ensure you have enough cable to reach all the desired locations.
- Fiber Optic Connectors: These are used to connect the cables to the splitter box and other devices.
- Fiber Optic Splicing Kit: If you need to splice the cables, this kit will be essential.
- Mounting Hardware: Such as screws, brackets, or wall mounts to secure the splitter box.
- Cable Management Tools: Zip ties, cable clips, and labels to keep the cables organized.
- Safety Equipment: Safety glasses, gloves, and a dust mask to protect yourself during the installation.
Step-by-Step Installation Guide
Step 1: Plan Your Installation
- Determine the Location: Choose a suitable location for the splitter box. It should be easily accessible, away from moisture and extreme temperatures, and close to the main fiber optic entry point.
- Measure the Space: Ensure there is enough space to mount the splitter box and allow for proper cable management.
- Identify the Target Locations: Decide where you want to distribute the fiber optic connections and measure the distance from the splitter box to each location.
Step 2: Prepare the Splitter Box
- Unpack the Box: Carefully unpack the fiber optic splitter box and check for any damage or missing components.
- Mount the Box: Use the mounting hardware to secure the splitter box to the wall or other surface. Make sure it is level and firmly attached.
- Install the Splitter: If the splitter is not already installed in the box, follow the manufacturer's instructions to install it. This usually involves inserting the splitter into the designated slot and securing it with screws.
Step 3: Prepare the Fiber Optic Cable
- Cut the Cable: Measure and cut the fiber optic cable to the appropriate length, leaving some extra slack for flexibility.
- Strip the Cable: Use a fiber optic stripper to remove the outer jacket and buffer coating from the cable, exposing the bare fiber.
- Clean the Fiber: Use a fiber optic cleaning kit to clean the exposed fiber, removing any dirt or debris.
Step 4: Connect the Fiber Optic Cable to the Splitter Box
- Insert the Cable: Insert the prepared fiber optic cable into the input port of the splitter box. Make sure it is properly seated and secured.
- Terminate the Cable: If necessary, terminate the cable using fiber optic connectors. Follow the manufacturer's instructions for proper termination techniques.
- Test the Connection: Use an optical time-domain reflectometer (OTDR) or a light source and power meter to test the connection and ensure there are no breaks or losses in the fiber.
Step 5: Distribute the Fiber Optic Connections
- Route the Cables: Route the individual fiber optic cables from the output ports of the splitter box to the target locations. Use cable management tools to keep the cables organized and protected.
- Connect the Devices: Connect the fiber optic cables to the devices at each target location, such as routers, switches, or modems.
- Test the Connections: Test each connection to ensure that the devices are receiving a stable and strong fiber optic signal.
Step 6: Label and Organize the Cables
- Label the Cables: Use cable labels to identify each fiber optic cable and its corresponding target location. This will make it easier to troubleshoot and maintain the network in the future.
- Organize the Cables: Use cable clips and zip ties to keep the cables neatly organized and prevent them from becoming tangled or damaged.
Step 7: Final Checks and Testing
- Inspect the Installation: Check all the connections, cables, and components to ensure they are properly installed and secured.
- Test the Network: Use a network testing tool to test the overall performance of the fiber optic network. Check for any errors, slow speeds, or connectivity issues.
- Make Adjustments: If necessary, make any adjustments to the installation or settings to optimize the network performance.
Troubleshooting Tips
- No Signal: If there is no signal at the target locations, check the connections at the splitter box and the devices. Make sure the cables are properly inserted and terminated, and that the splitter is functioning correctly.
- Weak Signal: If the signal is weak, check for any breaks or losses in the fiber optic cable. Use an OTDR to identify the location of the problem and repair or replace the damaged cable.
- Interference: If there is interference in the network, check for any sources of electromagnetic interference (EMI) or radio frequency interference (RFI) near the fiber optic cables. Move the cables away from these sources or use shielded cables to reduce the interference.
Conclusion
Installing a fiber optic splitter box by yourself is a challenging but achievable project. By following the steps outlined in this guide and using the right tools and materials, you can successfully expand your fiber optic network and enjoy high-speed internet connectivity. If you have any questions or need further assistance, don't hesitate to contact us. We are a professional fiber optic splitter box supplier, and we are committed to providing you with the best products and services. Whether you are a homeowner, a business owner, or an IT professional, we can help you find the right solution for your fiber optic network needs. Contact us today to discuss your requirements and start your installation project.
References
- Fiber Optic Association (FOA) - "Fiber Optic Installation and Maintenance Handbook"
- Telecommunications Industry Association (TIA) - "Fiber Optic Cabling Standards"


